During the selection process and by far the most overlooked aspect of making the correct choice of Nexus fixing products is the type of installation used and how that can have a major effect on the overall cost of the installation if done incorrectly.
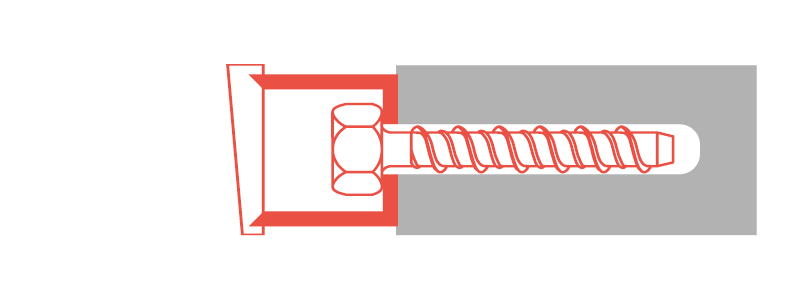
A flush fixing is made by positioning the attachment in the place where you wish it to remain. The holes for the fixing are marked and the attachment is then moved so that the holes may be drilled to suit the size of fixing selected. Please note that often the hole diameter for the fixing is larger than the hole in the attachment.
The fixing is then placed into the hole with the attachment being then repositioned and either the screw or bolt being put through the attachment and tightened home.


Flush fixings tend to work fine when a single fixing is being made and the item is not too heavy or large, that moving it may cause problems. However, a high degree of accuracy is required and unless done correctly may cause problems with multiple fixings.
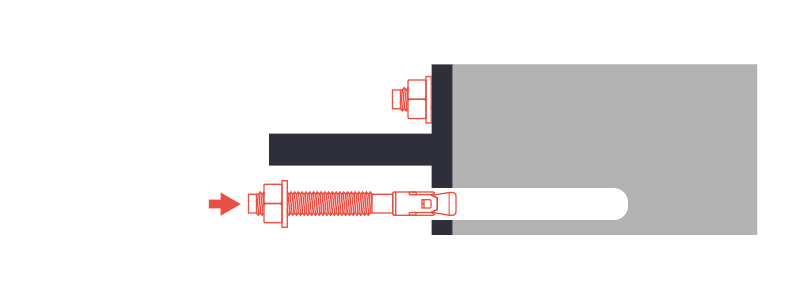
In most cases by using a suitable Nexus through fixing, the problem of alignment are overcome and the requirement to move the attachment is done away with. This greatly improves productivity and therefore reduces the time and cost of an installation.
The attachment is put in its permanent position. The holes for fixings are then drilled “through” the attachment, after which the fixing is placed into the hole and tightened, without the need to remove and re-position the attachment.
Naturally, care must be taken to ensure that the holes in the attachment are neither too big or too small before starting the installation.
The two previously mentioned methods of installation deal with the attachment being held firmly against the substrate. There are however a considerable number of applications were the attachment needs to be held away from the surface, for perhaps alignment or structural reasons. The anchor or fixing will be made in such a way that the position of the hole is marked on the substrate followed by the drilling of the hole for what may be a Nexus expansion or resin anchor. The anchor is installed in such a way that an attachment may be made to it after the installation is completed.
A typical example would be the brackets for a cladding system or a timber lining for a plasterboard wall.